
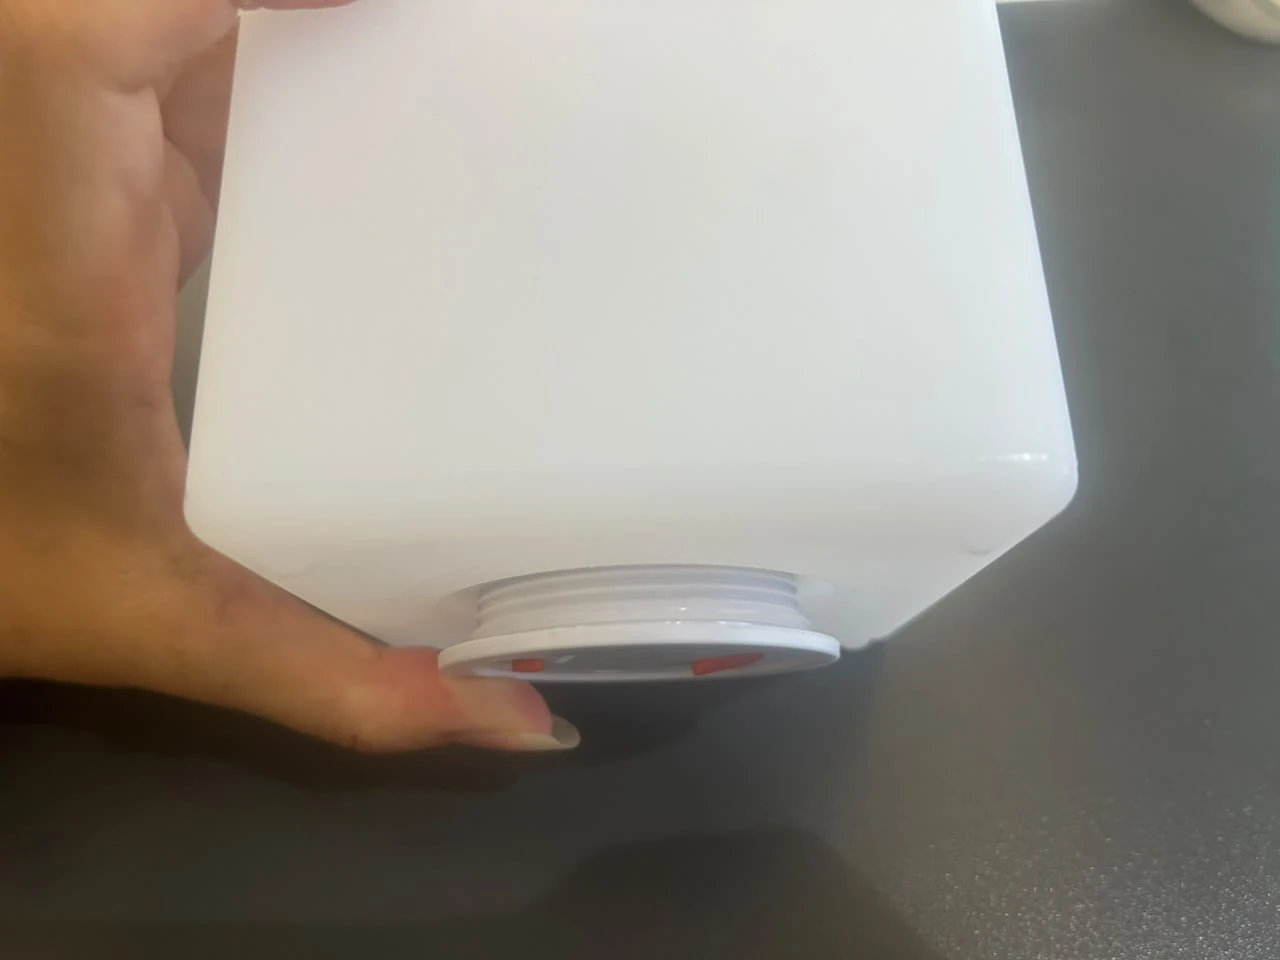
Lamp housing · mechanical installation
How to Mount an LED Module Inside a Lamp
Match the fixing structure—not just the module diameter.
Vcan LED modules do not all attach to a lamp or furniture shell in the same way. The 45 mm, 60 mm, 75 mm and 90 mm versions described here rotate into a matching threaded opening. Modules supplied with bottom mounting screw holes use screws. VC-SP120 has a separate ring that stays on the furniture while the complete light twists out for charging.
For a new lamp design, choose the fixing arrangement before finalising the enclosure. For a replacement, identify how the old unit is held in place before ordering a similar-looking module. This guide focuses on that mechanical connection; the small-module size guide covers the separate size and configuration comparison.
| Arrangement | What holds the light? | What must match? |
|---|---|---|
| Threaded module | The module and shell threads engage | Mating thread, engagement depth and seal seat |
| Screw-fixed module | Screws secure the mounting flange | Hole pattern, housing fixing points and seal seat |
| VC-SP120 removable arrangement | The module locks into a fixed mounting ring | Matching ring, locking interface and hand clearance |
Threaded modules: the shell needs the matching thread.
Vcan's 45 mm, 60 mm, 75 mm and 90 mm modules described here have no bottom screw mounting holes. Rotate the module into the corresponding thread in the product shell. A sealing ring is placed around the module's bottom edge, at the interface with the enclosure.
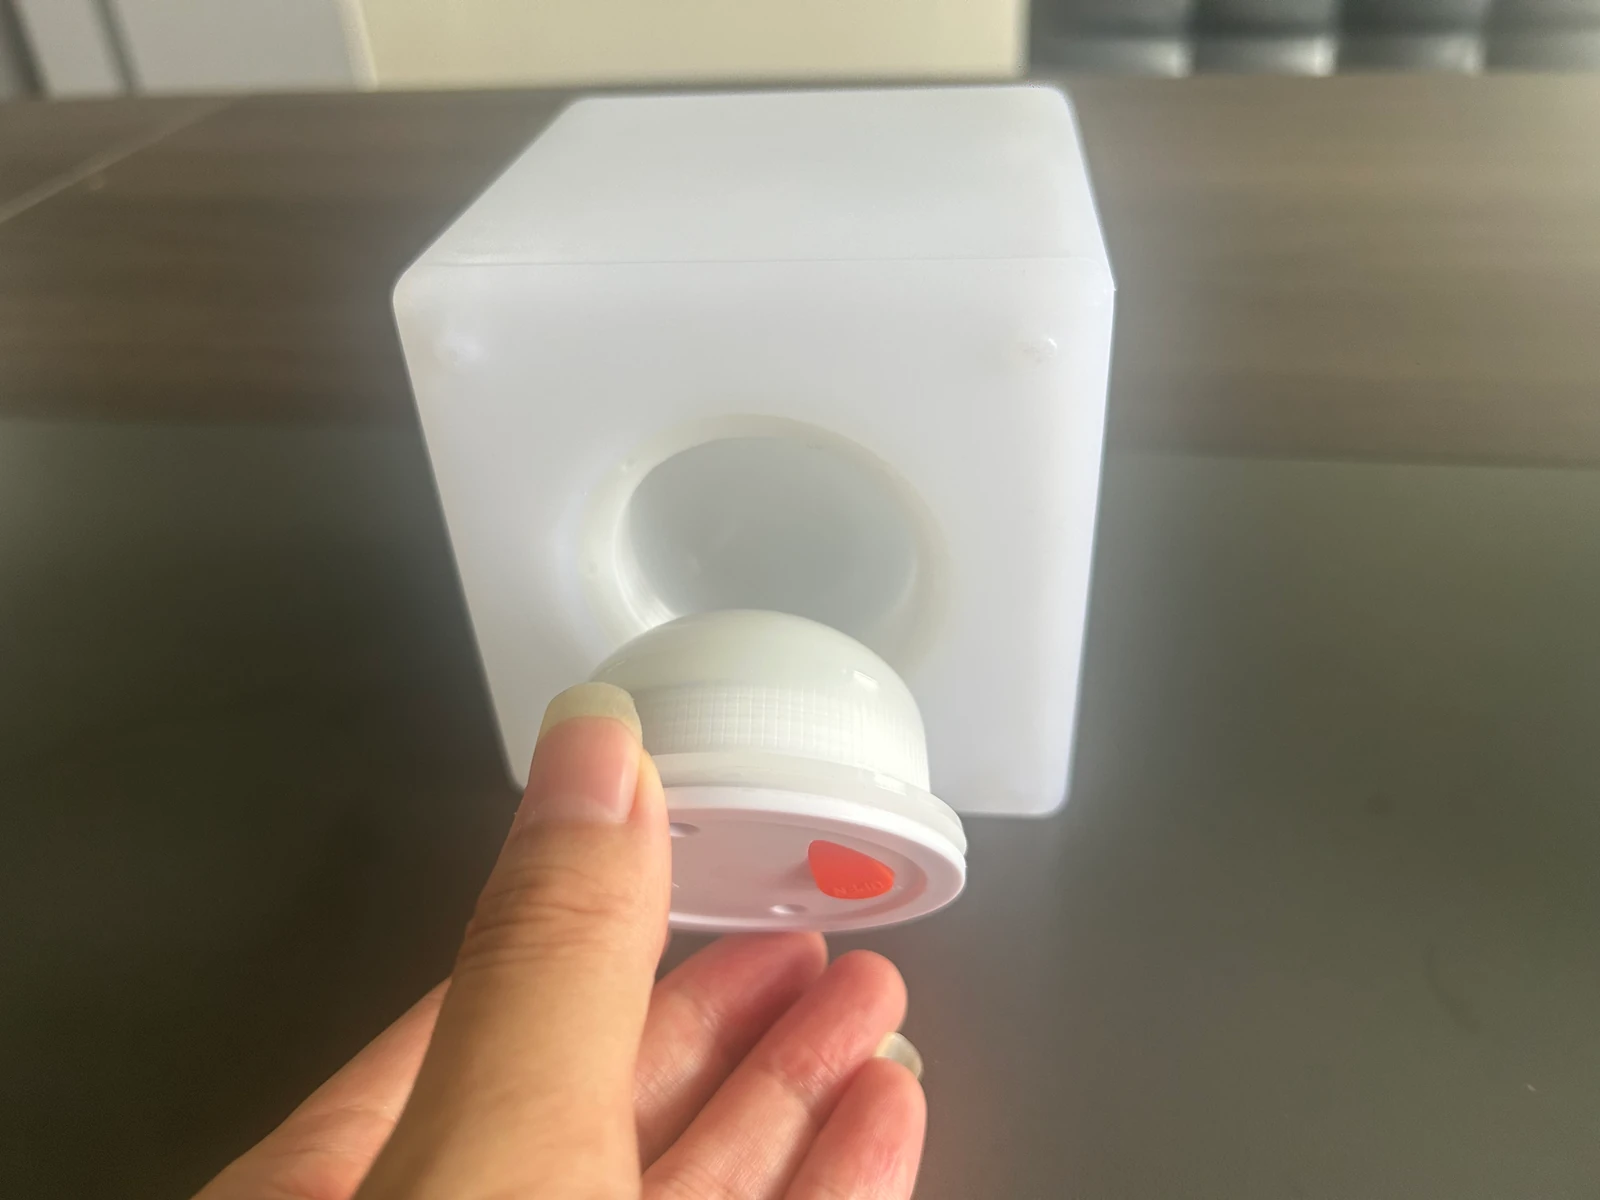
A circular opening of the right approximate diameter is not enough. Confirm the actual thread profile and pitch, engagement length, flange clearance and sealing surface. Do not specify a mould or machine a mating thread from a photograph or a model name alone; use the selected part's drawing and check a physical sample in the proposed shell.
Check the reference products: 45 mm VC-LS45, 60 mm VC-LS60, 75 mm VC-LS75 and 90 mm VC-LS90. Confirm the exact supplied version and mating structure for your project rather than assuming all products with those nominal diameters interchange.
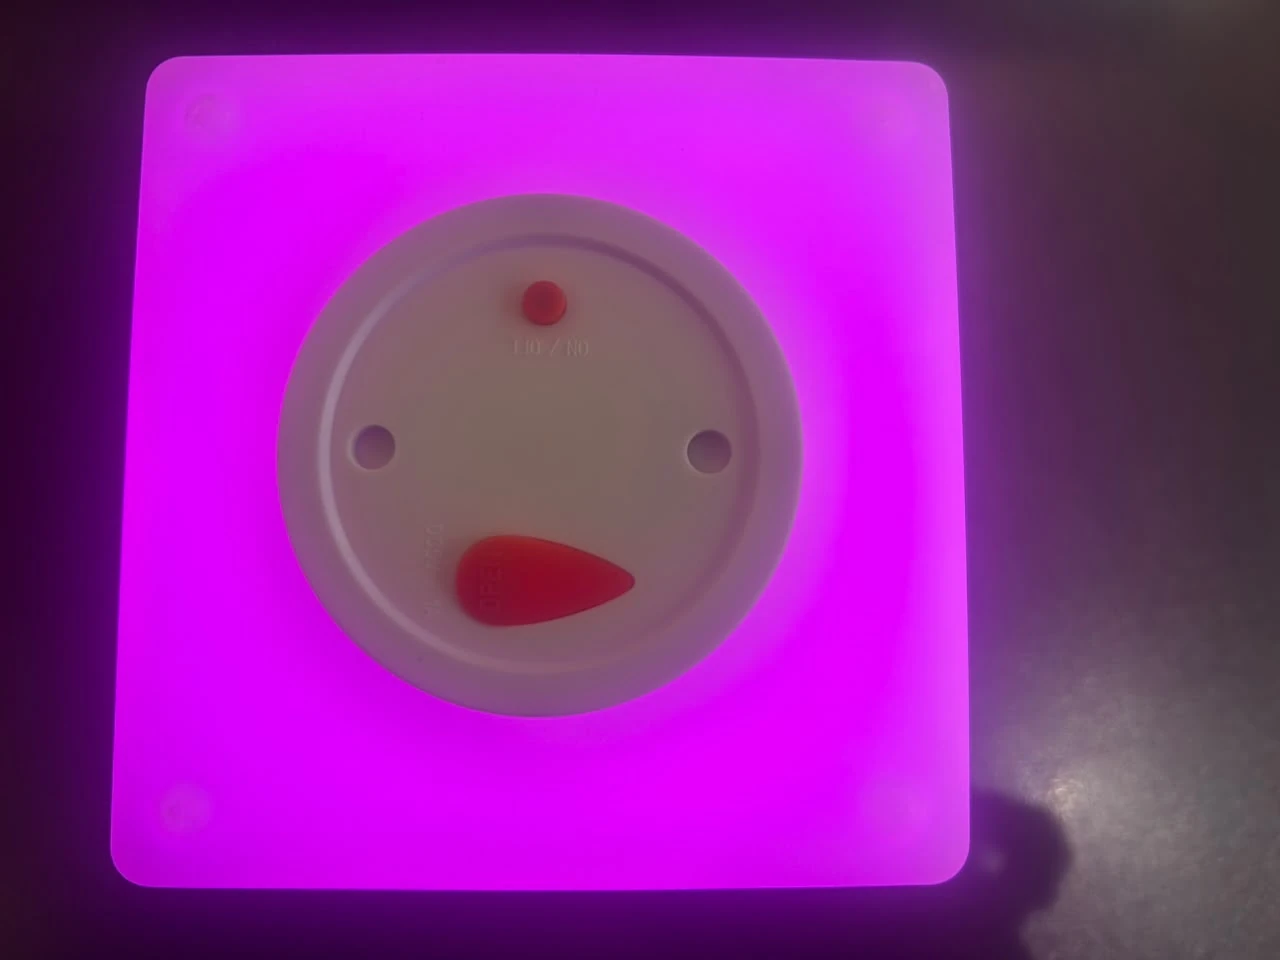
Screw-fixed modules: match the flange to the housing fixing points.
Where the supplied module has bottom mounting screw holes, screws secure it to the product housing. These versions also use a sealing ring at the bottom interface. Match the module's mounting-hole layout and the enclosure's fixing points, with the ring correctly positioned between the specified mating surfaces.
- Confirm the parts. Use the selected module, specified sealing ring and suitable housing fixings. Check the screw size, length and tightening requirements for that assembly.
- Seat and align. Place the sealing ring in its intended position and align the module without trapping the seal or any cable.
- Secure as specified. Fit the screws using the agreed assembly instructions. Do not drill new holes in a sealed module or force a mismatched hole pattern to fit.
- Inspect the finished fit. Check seating, retention, control access and charging access, then verify the complete product for its intended environment.
VC-SP120: distinguish the fixed ring from the removable light.
The VC-SP120 removable LED module uses a separate mounting ring. The ring stays attached to the furniture; for routine charging, the complete module twists out without tools and is charged through its bottom DC socket.
Do not confuse this ring-and-module arrangement with a compact module threaded directly into the shell. Both involve rotation, but the mating parts and removal routine are different. Read the twist-out charging case for the full handling sequence and completed 300-unit customer order.
Allow enough room to grip, release and refit the module. A removable design is only convenient if users can actually reach it in the finished furniture.
The sealing ring and service access are part of the installation.
Both the threaded and screw-fixed arrangements described above have a sealing ring at the module's bottom interface. Confirm the correct ring, its seating position and the finished enclosure fit. Use the agreed assembly specification for tightening and seal compression; the photographs do not provide those values.
A module's IP rating is not automatically the IP rating of the complete lamp or piece of furniture. Openings, surface fit, fasteners, charging-port exposure and assembly condition all need review. The IP65 and IP68 selection guide explains the separate protection question.
Also check what users need to reach after installation. Leave room to operate an underside button and to use the selected charging connection. Our button-control guide and side-charging example address those access decisions.
Magnetic charging is not magnetic installation.
Some Vcan products use magnets to connect the light with its charging plate. A 120 mm induction-charging configuration, for example, can attach magnetically to its charging plate for charging. This connection does not fix the module inside the furniture.
Vcan does not currently offer magnetic installation in the mounting options described here. Choose the mechanical fixing independently of the charging method; see direct versus induction charging when selecting the electrical arrangement.
LED module mounting questions
How are Vcan 45 mm, 60 mm, 75 mm and 90 mm LED modules fixed?
The module versions described here have no screw mounting holes on the bottom. The module thread engages a matching thread in the product shell, and the module is rotated into place. A sealing ring sits around the bottom edge. Confirm the selected part and mating shell before production.
Does a matching nominal diameter guarantee that the module screws into our housing?
No. Match the actual thread profile, pitch, engagement, installation depth and sealing seat against the selected module drawing and a physical sample. A nominal diameter is not a thread specification.
Is VC-SP120 removed by undoing the furniture mounting screws?
Not for routine charging. Its mounting ring stays attached to the furniture while the complete module twists out without tools. The removed module is charged through its bottom DC socket.
Is magnetic charging the same as magnetic mounting?
No. Some Vcan products, including a 120 mm induction-charging configuration, use magnetic attraction to connect the module with its charging plate. This is a charging connection, not a method for fixing the module inside furniture. Vcan does not currently offer magnetic installation in the mounting options described here.
Does the sealing ring make the complete furniture waterproof?
Not by itself. The finished assembly also depends on the mating surface, correct seal placement, fastening or thread engagement, charging access and intended environment. Confirm protection for the complete installation rather than transferring a module rating to the furniture.
Check the module and shell together
Have a lamp housing that needs a light module?
Send photos of the inside and underside, the opening and available depth, any existing threads or fixing points, the enclosure material, intended environment and required quantity. For a new design, include the housing drawing; for a replacement, include the old module. Vcan can review the mounting interface before you commit to tooling or a bulk order.